Hi there Just Us Four readers! My name is Laura and I blog over at The Experimental Home where I share my everyday creative experiments. I believe that I can create anything with just a little experimentation and you can too! I am so excited to be guest posting today on Thanksgiving eve. I am also excited because in two days, our Christmas decorations come out of the attic and it is time to deck the halls! I am not one of those people who totally replace my seasonal decor every year. For me, the best part of Christmas decorating is all the wonderful Christmas memories that the decorations hold. However, each year some decorations get retired and new ones take their place. This year, I know I need a new wreath for my front door. I wanted to create something simple and modern with classic Christmas style. I have been loving the color-blocked look this year, so I decided to experiment with a paint dipped wreath. It was super-simple to make and I just love how it turned out!
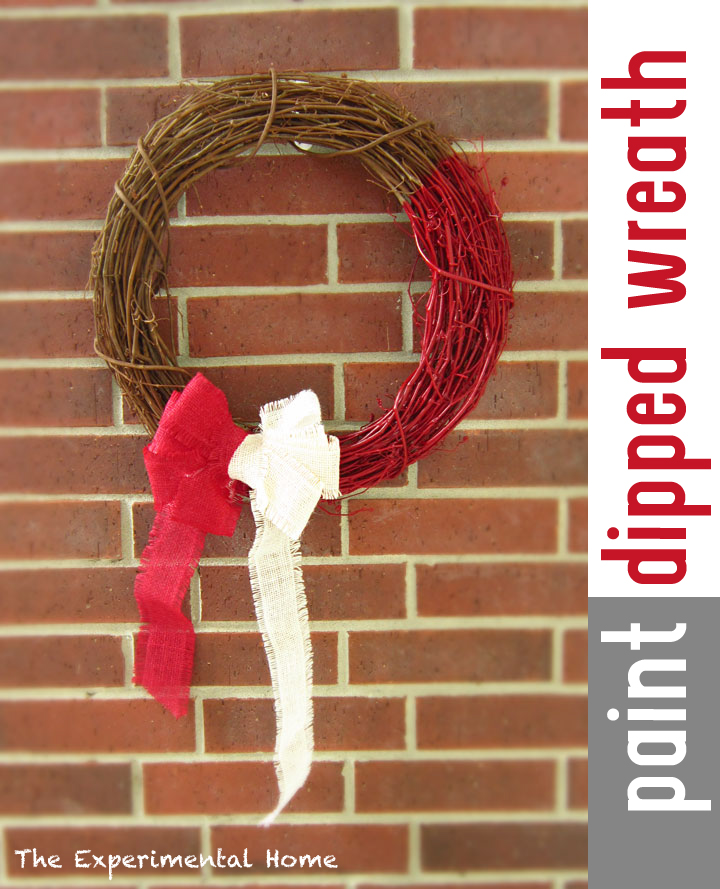 The how to is simple… just dunk a wreath in a huge vat of paint. What? You don’t want to buy a vat of paint to paint part of a wreath? Me neither. So I used some painter’s tape and a Target bag to help me spray paint part of the wreath and achieve a paint-dipped look. I started with a 18″ grape vine wreath from the craft store. Take care when shopping for your grape vine wreath and make sure you get one that is circular, not oval, elliptical or totally wonky. When you get it home, go outside and clean it up. Crush any leaves still attached and shake that wreath until all the leaf shards are gone. Also remove any sticks that stick out funny.
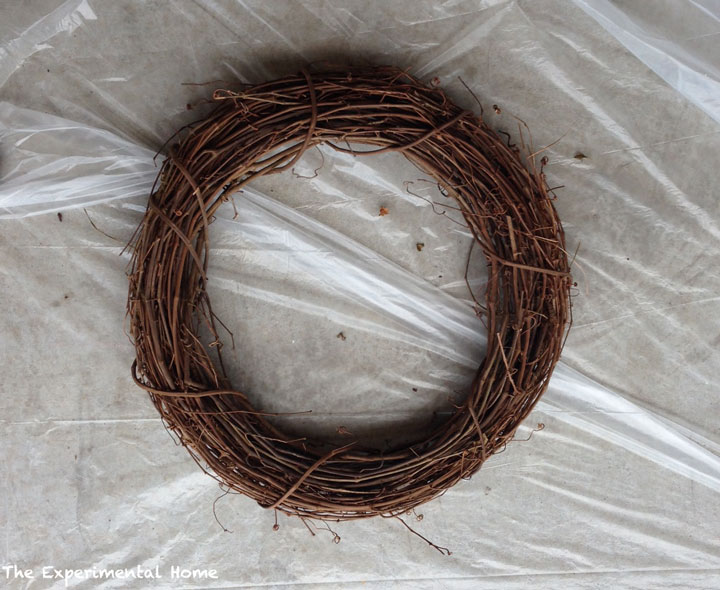 Once you feel that your wreath is in good shape, decide how much of your wreath you want to paint, and place a long piece of painter’s tape in a straight line across the entire wreath. Then cut it in half and wrap the tape around the wreath. If you need more tape to get all the way around, just use the first piece as your guide. Then insert the part of the wreath you want to stay twig-colored into the Target bag (any grocery bag will do, I just like the heavy-duty nature of the Target bag). Fold the handles under and tape it in place. You may also want to add a little tape to keep the bag closed.
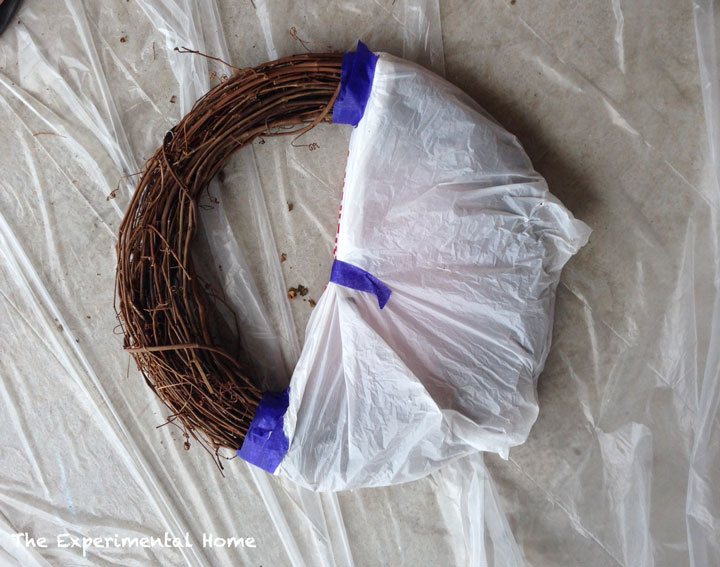 Get your spray paint ready and go for it. It will take several light coats of spray paint to get under and around all those sticks. Be patient, and make sure it is dry before you flip it over to spray the other side. While you are waiting. Make a bow. I made a simple wreath bow with bleached burlap ribbon.
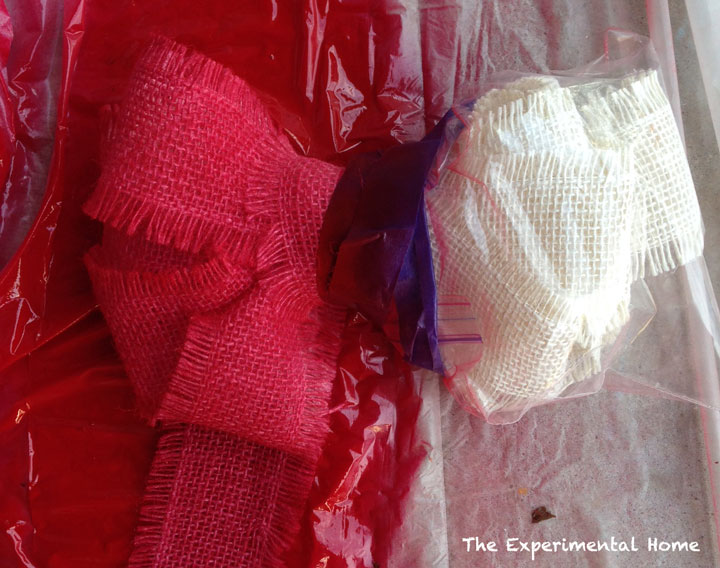
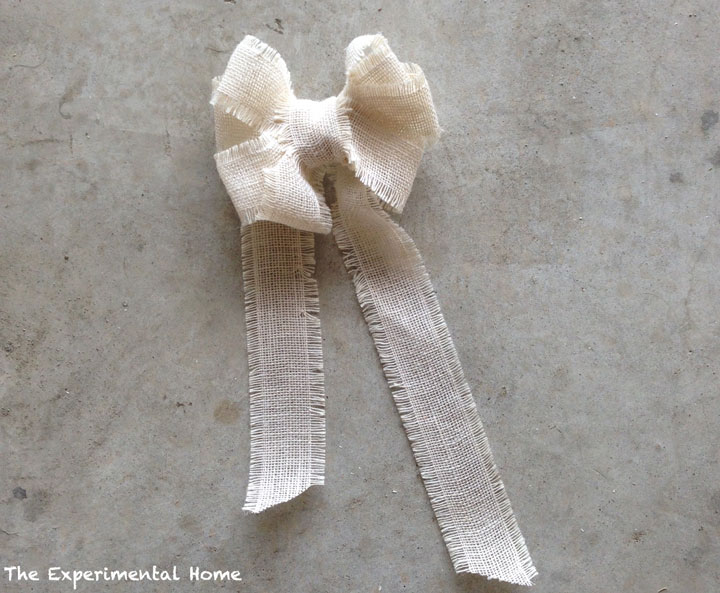 I “paint dipped” the bow as well and put it right on the intersection of the painted and unpainted parts of the wreath. I decided to flip it so the painted side would be on the unpainted side of the wreath. I decided where I wanted to put the bow on the wreath and placed tape along the angle of the paint line on the wreath. I stuffed the side I didn’t want to paint in a ziplock bag and sealed it up with painter’s tape and spray painted the exposed part of the bow.
 Once everything way dry, I took my wreath and bow out of their respective bags and attached the bow with some wire. Voila… a new paint-dipped wreath!
 Thanks so much to Shannah for inviting me to guest post today, and a big thank you to YOU for checking out my wreath. I’d love to see you by The Experimental Home, where every project is an experiment and every Monday is a Mess! You can also find me on facebook, instagram, pinterest, twitter, and google +. Happy Holidays, y’all!
![]()


This is cute. You did a great job. It’s simple yet modern, I like it. Happy Thanksgiving!