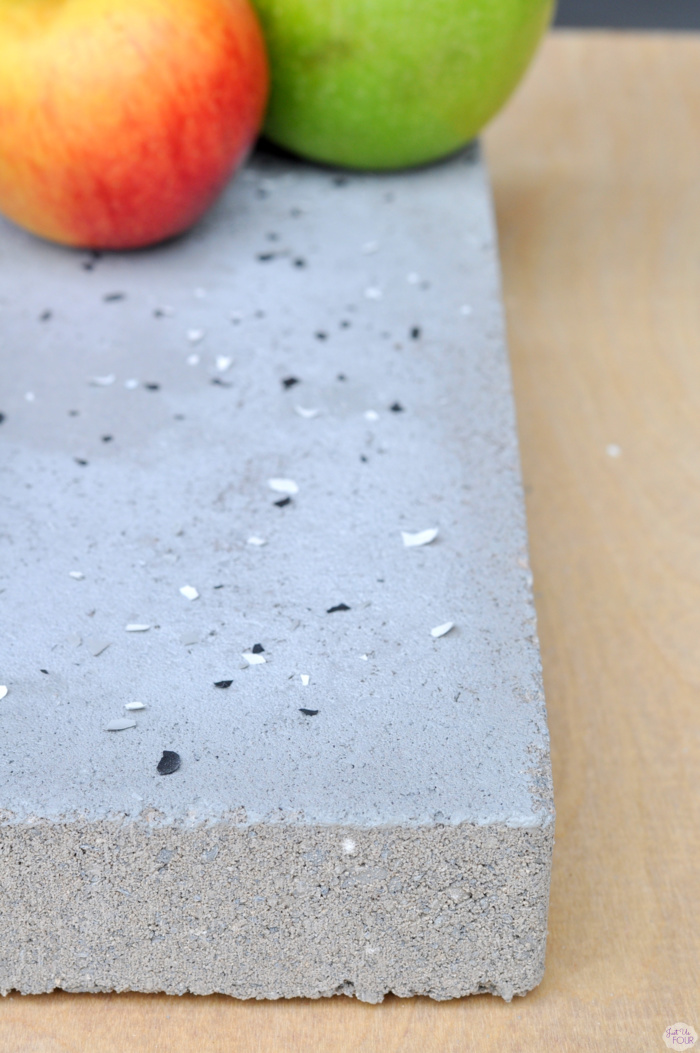
Speckled Concrete Photo Backdrop
BEHR sponsored this blog post. The opinions and text are all mine.
These days major house projects tend to take a backseat to kid activities, outings and spending time in the kitchen. Of course, I also spend a ton of time behind the camera photographing the stuff that comes out of the kitchen. I like to have lots of different surfaces to photograph on and am always looking for new ideas of things to use. The path to this speckled concrete photo backdrop came from the strangest discussion yet.
…
Quick and Easy Painted Backdrop
Behr sponsored this blog post. The opinions and text are all mine.
I am always looking for new photography props. From thrifty stores to even my Target runs, I constantly have my eyes open just in case I stumble across something that would be perfect for some of my photos. Right now, a lot of my fall and winter foods features sweet potato, pumpkin or butternut squash which leads to everything looking just a little bit too orange sometimes. A great way to help with that is to introduce some blue into the photo. I got tired of always using blue dishes so I decided to create a quick and easy painted backdrop.

…
Ghost Craft {So Boo-tiful It’s Scary}
The Three Amighosts….
The corner of Prichard and Cayuta Ave was right in the middle of our houses. Each of us came from a different direction, each from a different point of the triangle, so of course, that is where we would meet to walk to school together.
…
Vanity Makeover – Chalk Paint by Annie Sloan
Hello! Sometimes you have a regular old maple bathroom vanity and it works. It does its job of holding your tooth paste and hair brush and razor. But something may be missing, besides the mascara or toothbrush.
It’s missing a real personality. …
Easy Glass Organization
Once upon a time there were two teachers and two students who loved each other and lived together under the same roof. This little family was home together everyday all summer and it was wonderful….except for one thing….
there were too many glasses on the counter.
All. the. time.
…
Father’s Day Shaving Cream Art Luggage Tag
Hello! Jennifer from Satsuma Designs here and very excited to be back at Just Us Four blog – thank you Shannah! At Satsuma Designs, I create Seattle-made baby products and content that help make caring for kids as easy as child’s play. Click here for a fun offer to help your kiddos thrive!
Do your kids have Father’s Day gifts all wrapped up? If they’re like mine, they’ve made a cute card at school, but want to have something to wrap up for Dad to give him on Father’s Day, Sunday, June 21st. I thought it would be a fun pun to use Dad’s shaving cream to make art, add a special note and create a laminated luggage tag that he can take on the road with him or wrap around his briefcase to take a little visual reminder of how much he’s loved everywhere he goes. Here’s how your kids can make a Father’s Day shaving cream art luggage tag.
This is a two-part post with the second part of the story over at Satsuma Designs. Here I’ll teach you how to make the art and at Satsuma Designs, I’ll show you how to create the personalized luggage tag to give Dad on Father’s Day.
What you need to make your Father’s Day Shaving Cream Art Luggage Tag
- Shallow baking pan or casserole dish at least 9″x13″
- Spatula
- Heavy white construction paper or card stock
- 1 can shaving cream – get the old fashioned foaming kind, not the gel kind
- Toothpicks or skewers
- Food coloring
- Washable splat mat or place mats
- Wire cooling rack to dry paper
…
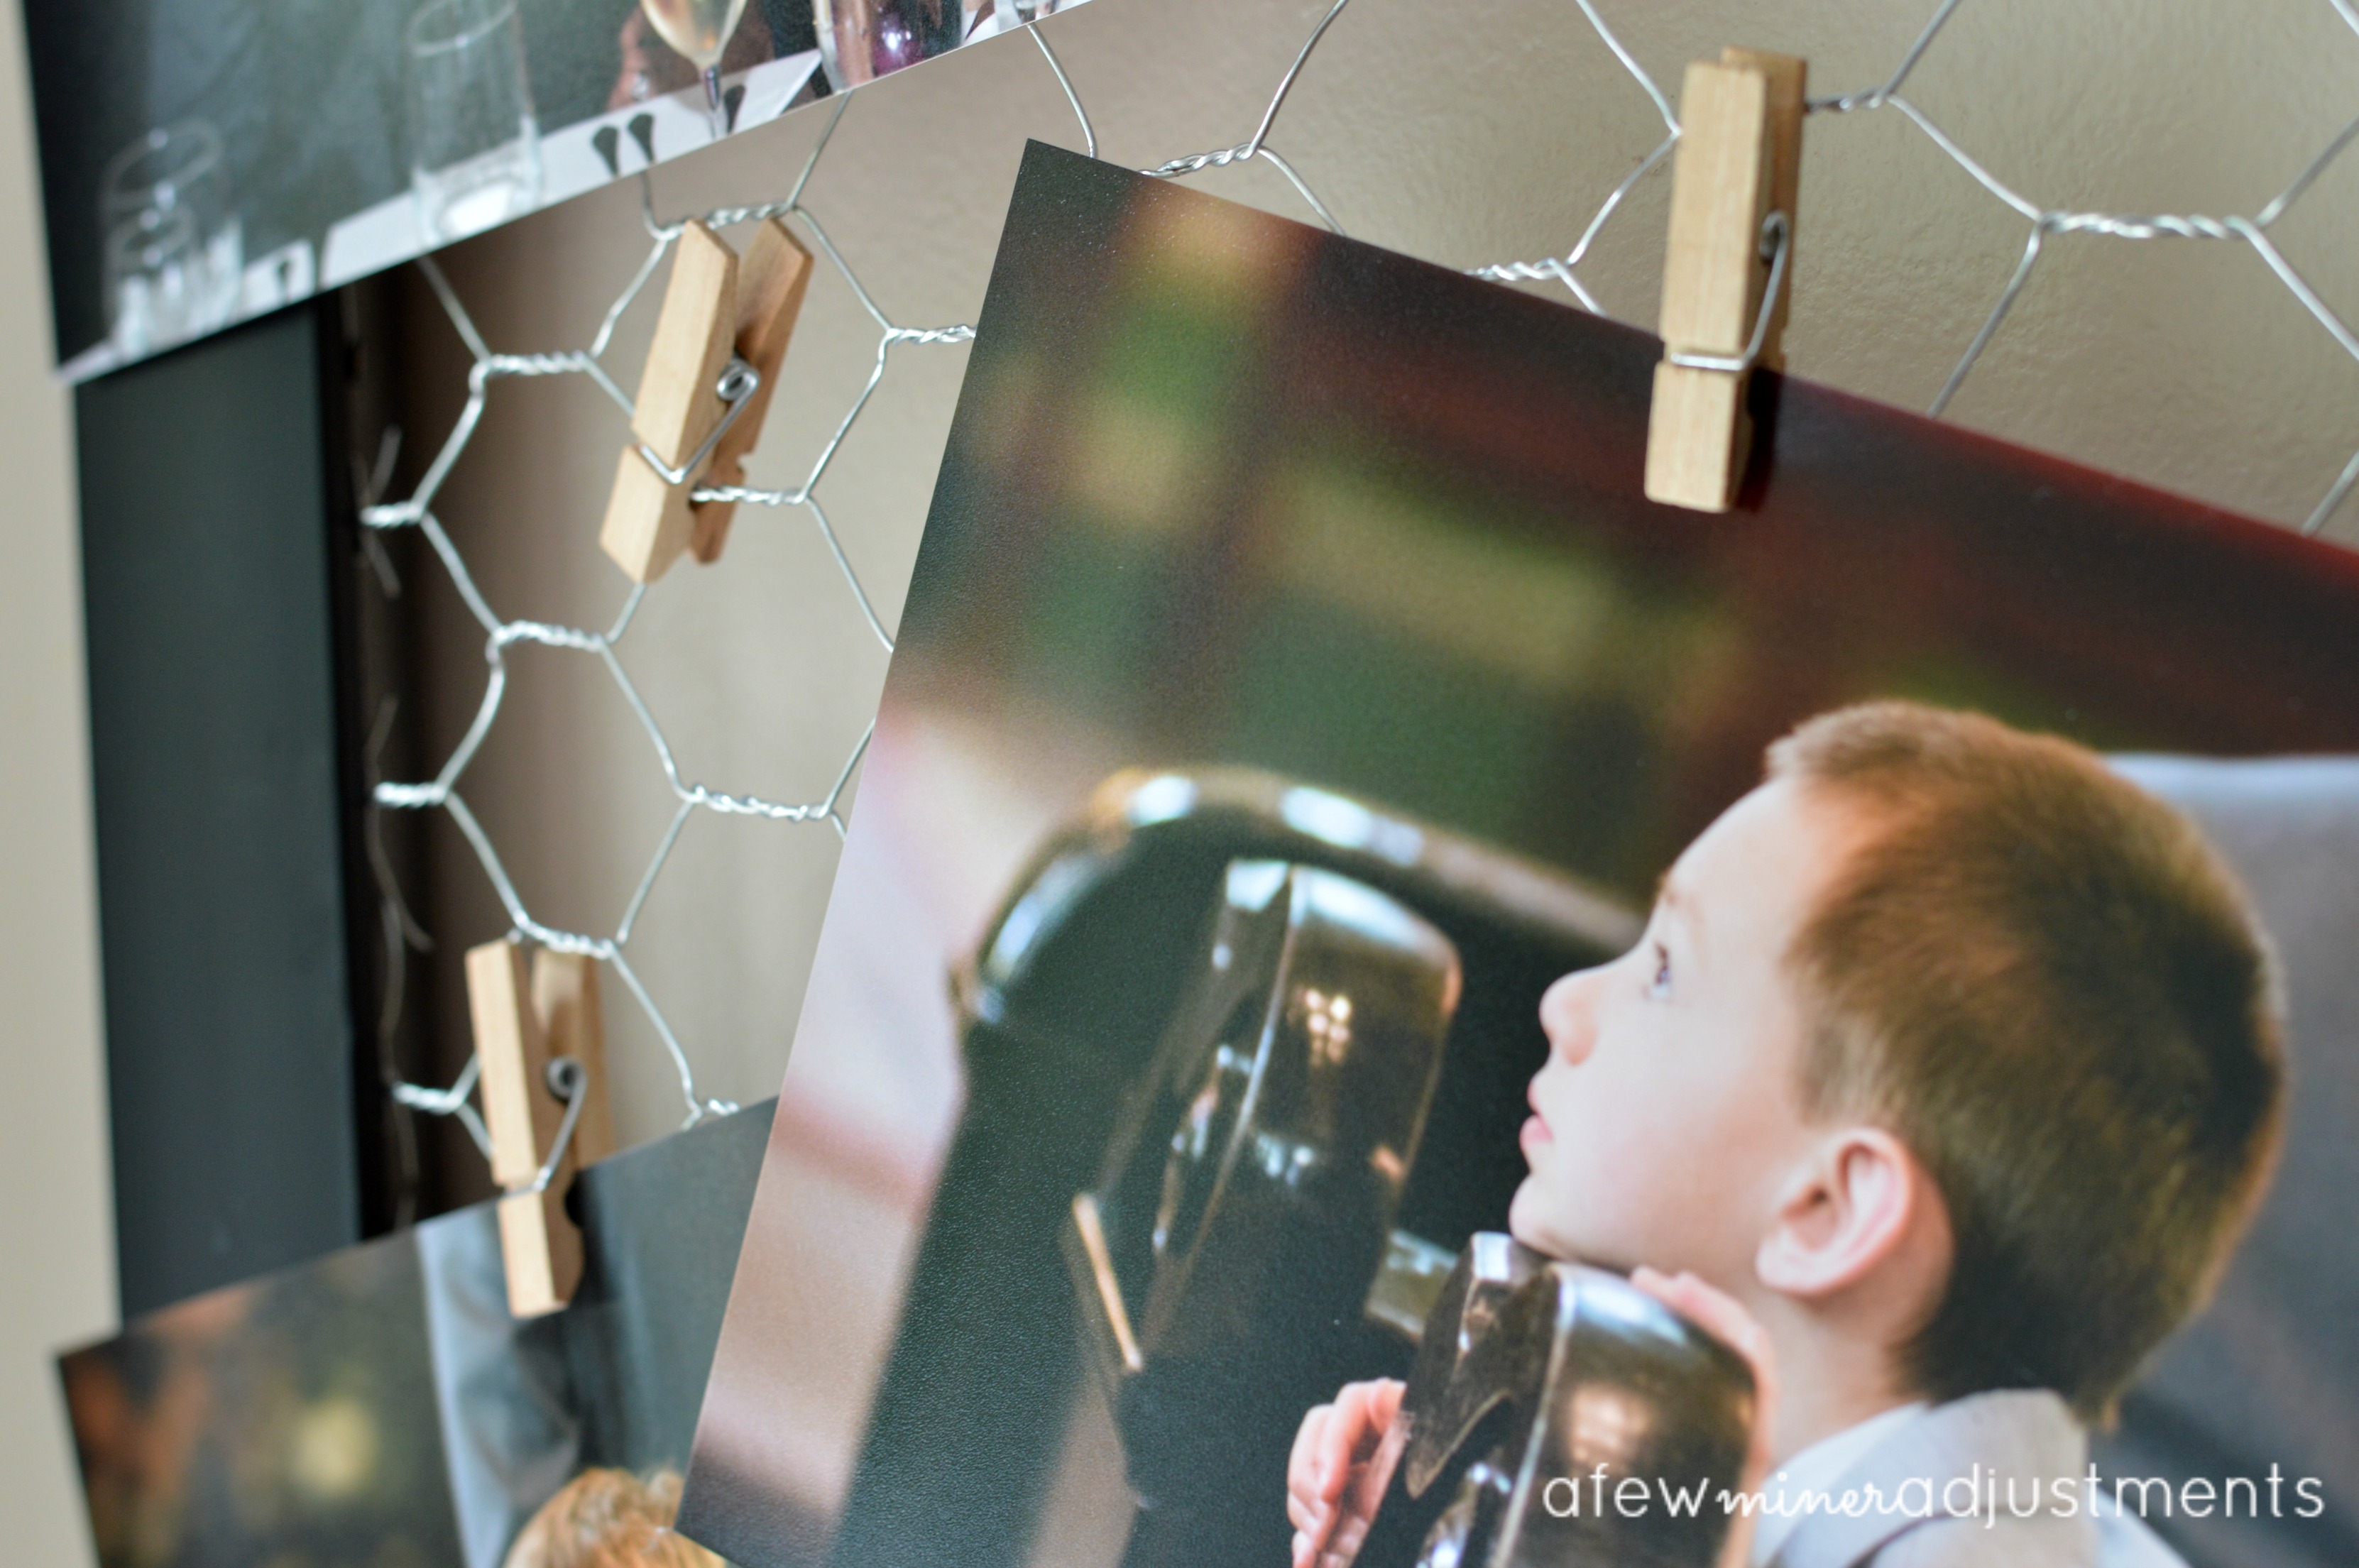
DIY Chicken Wire Message Board
My husband has been asking to build a garden full of fresh vegetables for a long time now. I have always been in favor, but we could never find a place for it. After thinking on it for awhile, we found a spot in the front yard and Matt got to work.
He up-cycled old pieces of wood, our wonderful neighbors gave us some dirt that was left over from their front yard project, we bought some chicken wire to keep the deer out. Then we all went and picked out the fresh, organic veggies….beans, watermelon, strawberries, lettuce, cucumbers.
Oh, I can’t wait to have strawberries and lettuce!
And as Matt was walking around the perimeter of the garden putting up the fence, I noticed that there was going to be left over wire.
The wheels started turning and I knew I would be putting that to good use.
So I searched the basement for an unused frame and made a few Miner adjustments. “Lettuce” get to work, shall we? Sorry, I couldn’t resist!
…
Up-cycled White Washed Picket Fence Backdrop
My husband is a pretty easy going guy. When I give him a list of things to fix or create or do for me around the house he is pretty agreeable about doing it. I love that man.
So when we took our picket fence down, I had a ton of ideas of what to do with the wood.
And when I posted my February mantel here, I got a lot of emails about the backdrop. Funny, how so many people loved on it and my husband, although he gladly made it for me, very much disliked it.
OK….he hated it.
Oh boy, did I hear complaints about it.
So here are the directions for making your own…just give them to your husband….or if he isn’t into it, make it yourself….it is so easy.

You need:
wood planks, small nails, nail gun or hammer, wire, eye hooks
To Make:
Lay out your planks {I used 8 to fit my wall space}
Put another plank vertically on top and nail it to all the planks. Do the same at the other end.
Screw Eye hooks into each vertical plank.
Twist wire onto the eye hooks
Once it was put together I white washed the planks….mix 1 part white paint and 1 part water…brush on and wipe off to your liking.
Hang and enjoy!
I also added a nail to the bottom corner, on the front, to hang a picture frame on it.
Now that I have had this hanging for awhile, my husband doesn’t complain about it anymore. It is even been rumored around here he now loves this hanging over our mantel.
Hmm, what is next on my list for him?
Stenciled Leather Coasters
Hey y’all! It’s Ginger from Gingerly Made again. I don’t know what it is, but we can’t seem to keep a set of coasters around my house! I think the kids play with them and then loose them. Usually you can only find 1 or maybe 2. So since they are prone to getting lost, I periodically need to get more. But I don’t want to spend a lot of money. So what do I do?… Hit the thrift stores. Thanks to a thrift store find and some craft supplies I already owned, I was able to make these stenciled leather coasters for $2.00!!
I was looking for some stone tile type coasters, but only found paper ones and these “Patriots Colony” tin and cork coasters. I liked the cork bottom and knew I could upcycle these into something much prettier, so even though it wasn’t what I was specifically looking for, I went with it.
…
