I am so excited to work with Tulip for your Home on this project. While I was compensated for this work, all thoughts, opinions, and projects expressed here are my own. #tulipforyourhome
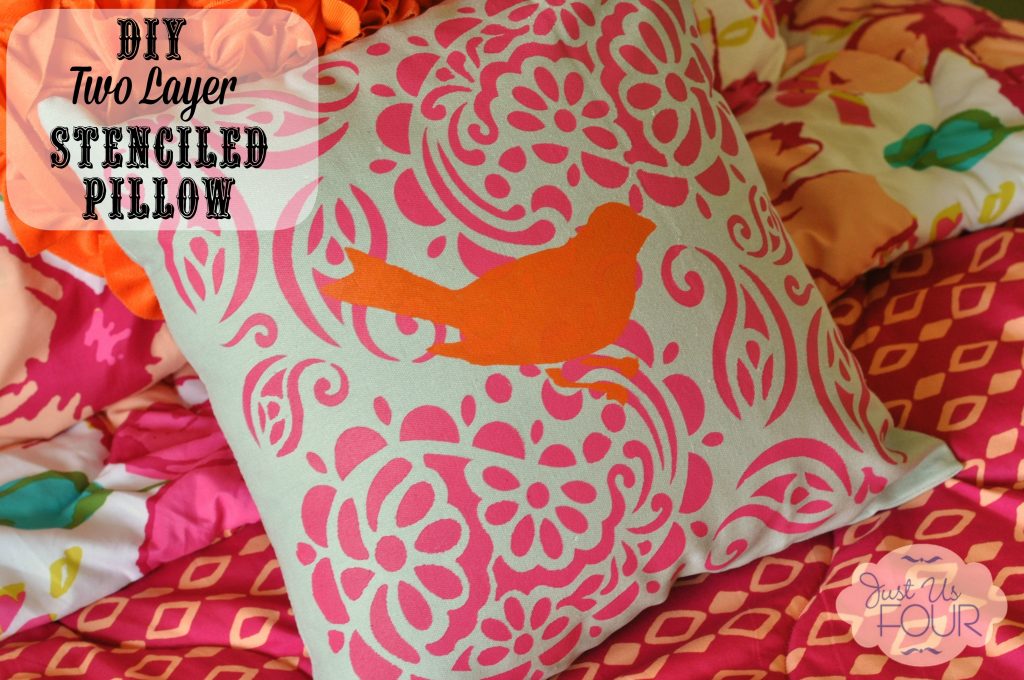
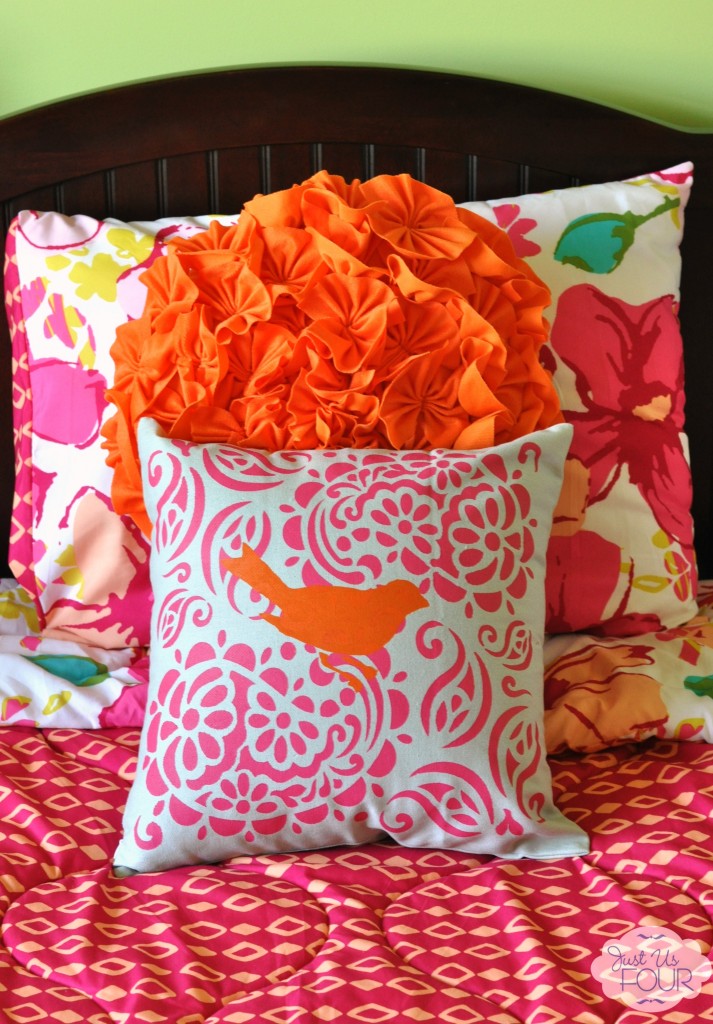
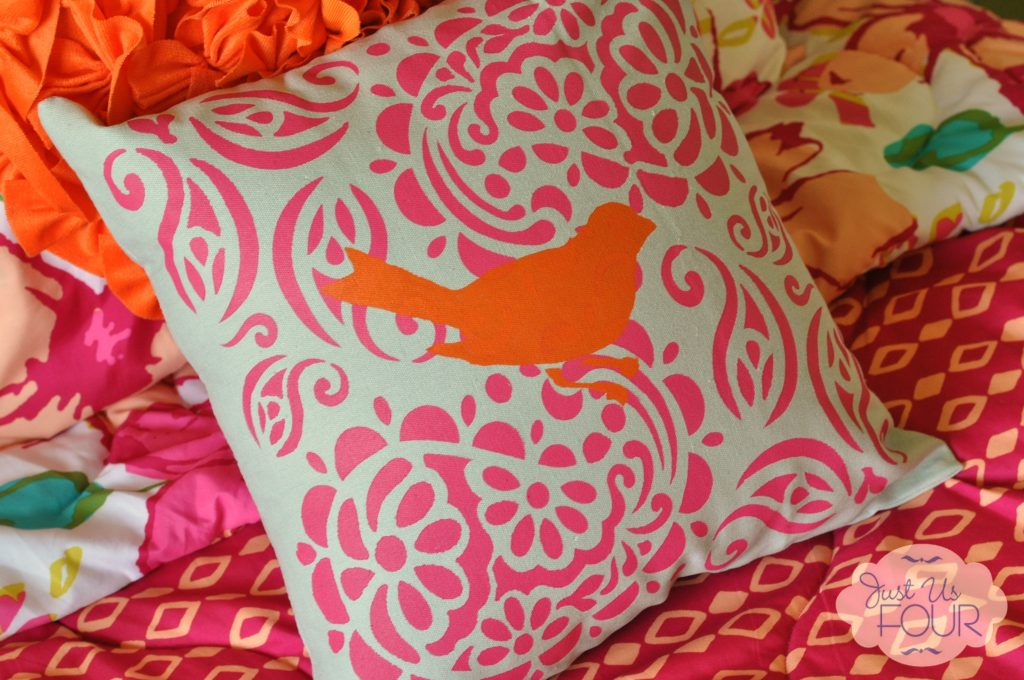
We are still working on the room redo we started last year as H’s 6th birthday present. Yep…almost a full year ago we started this process and we are still.not.done. I could go into a million reasons why but a lot of it is just plain not having enough hours in the day. The other issue is that H has very specific thoughts and ideas about her room and I want to try and implement them in some way whenever possible. When I had the chance to work with Tulip for your Home, I jumped at it because I thought it would be a fun way to personalize something for her room. Using their stencils and new paint, we created a DIY two layer stenciled pillow that goes perfectly in her space.
Making this pillow was so easy and it was fun to work with H on creating something that she could show off in her room. Here are the supplies you’ll need:
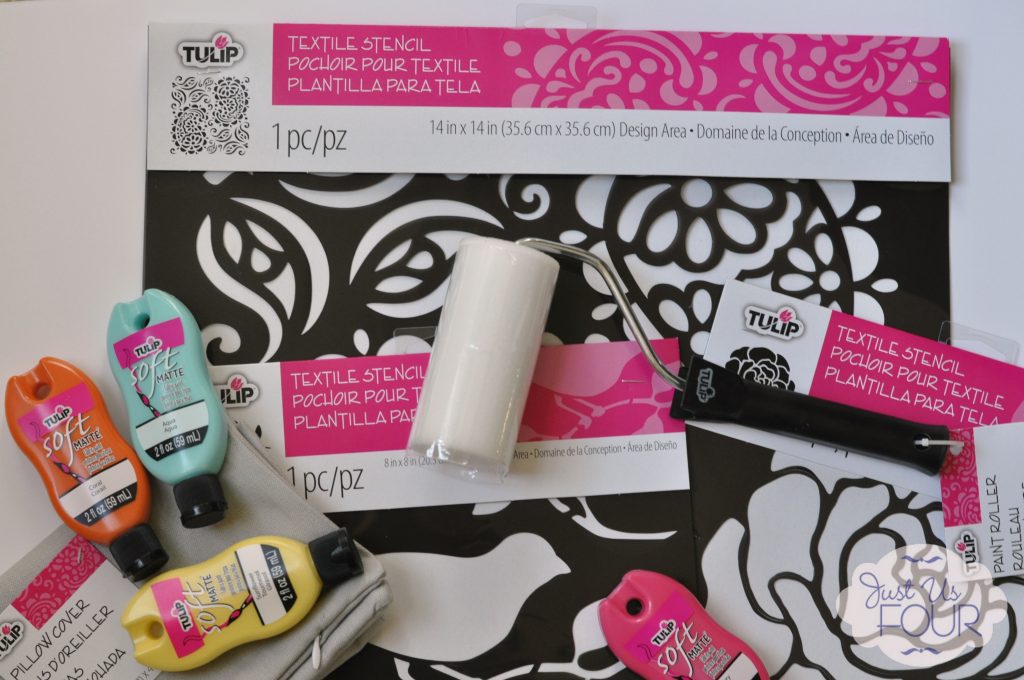
– Tulip pillow case {mine is a cotton canvas pillow cover}
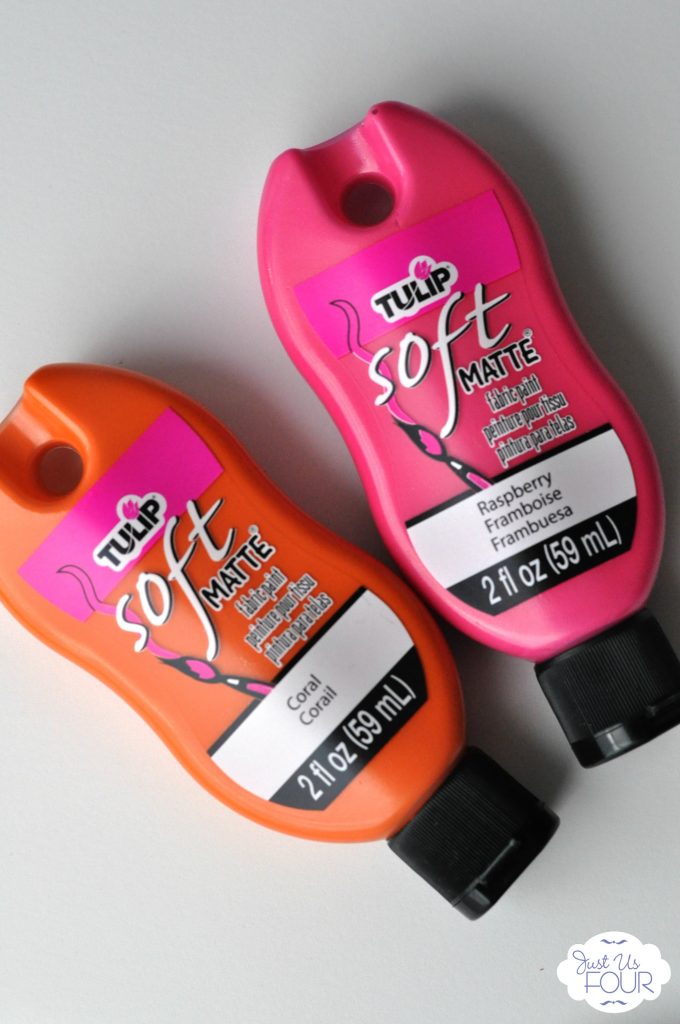
– Tulip soft matte fabric paint
– Tulip large textile background stencil
– Tulip small textile motif stencil
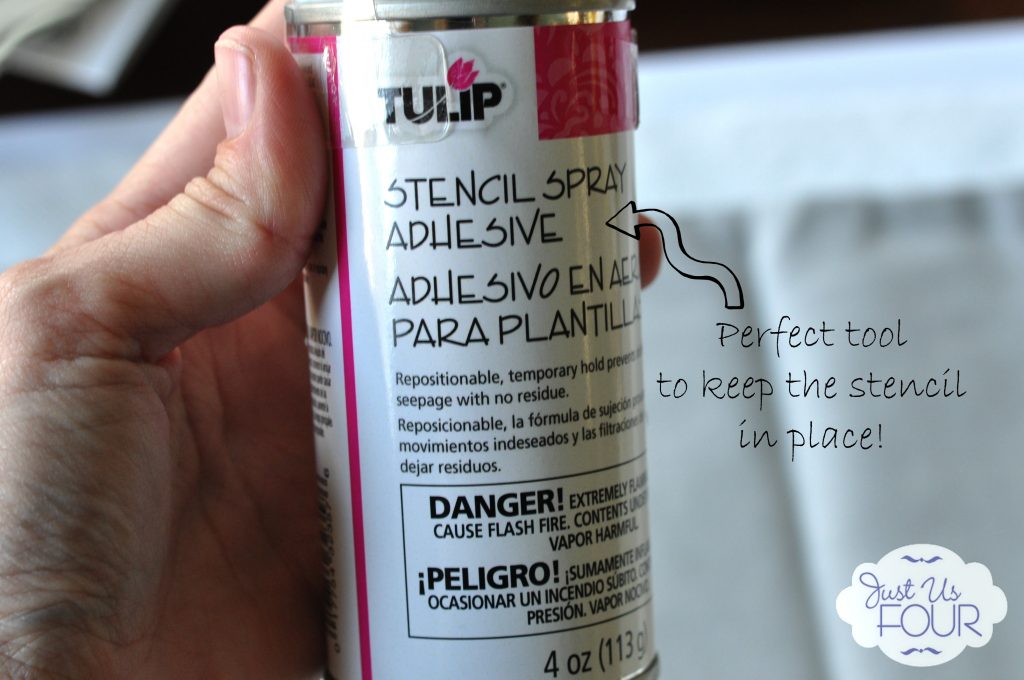
– Tulip stencil adhesive
– Tulip foam stencil rollers
– Masking or Painters tape (optional)
Once you have your supplies together, this project goes really fast!
1) Start by laying out your pillow cover. You may need to iron it first to make sure it is flat.
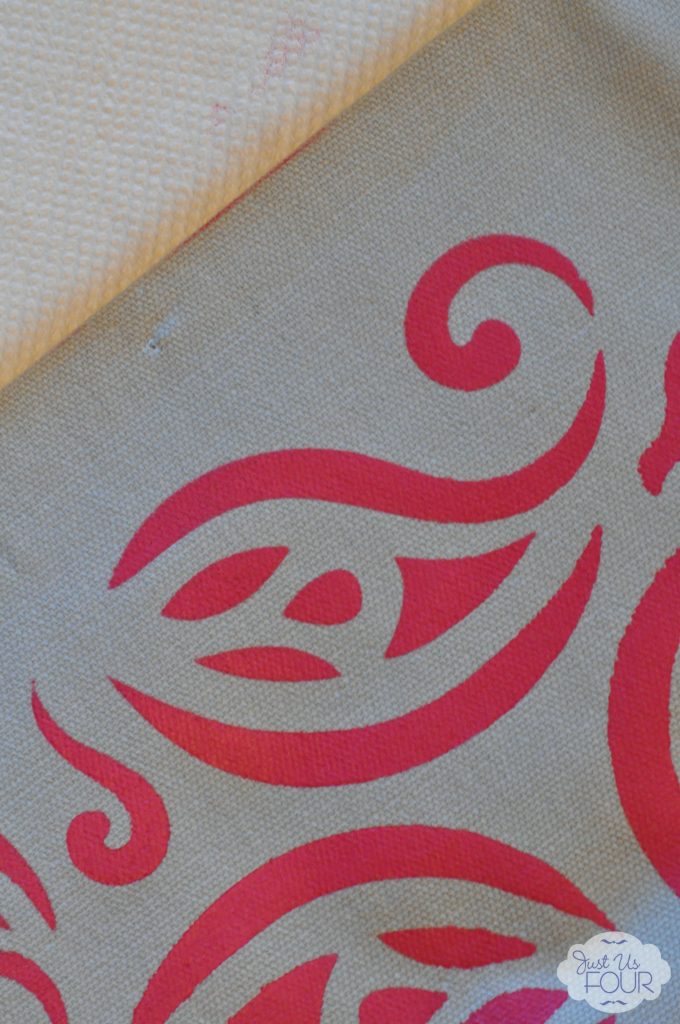
2) Spray the matte side of the large stencil with the stencil spray. Align with the edges of the pillow cover and press down making sure the pillow cover stays smooth underneath.
3) Choose your first paint color and squeeze paint onto paper plate or other item and push roller through it. Offload some of the paint onto paper towels to keep from getting paint blobs.
Roll the roller over the stencil pressing into the corners to get good coverage.
4) Once the entire stencil area is painted, remove the stencil and clean. Also, clean and dry your foam roller with water. Let your pillow cover dry.
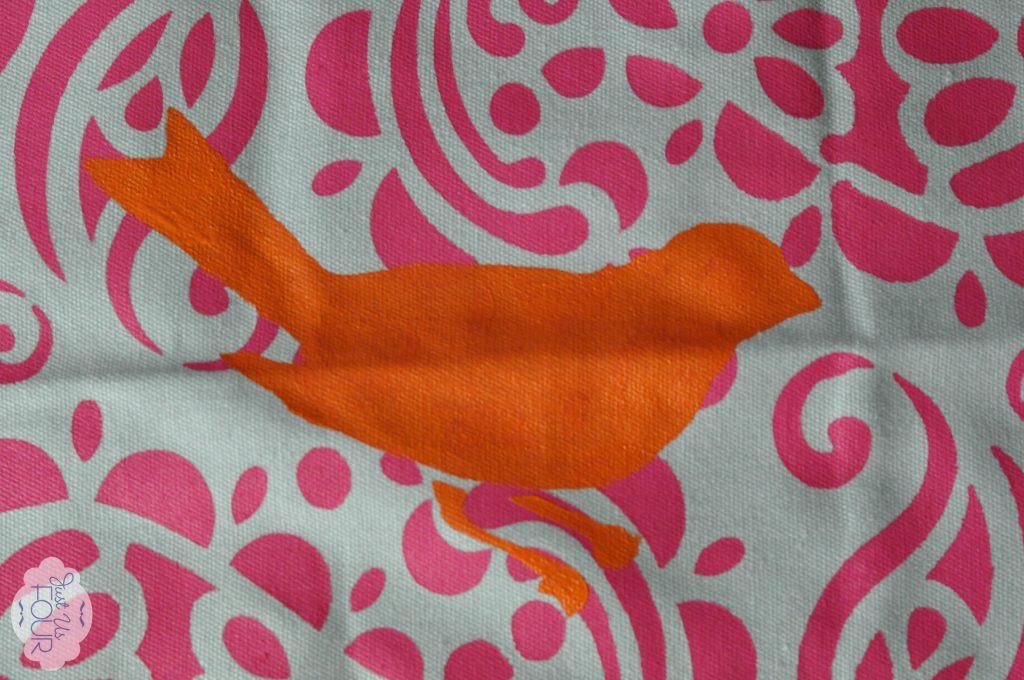
5) Once the bottom layer stencil is dry, spray the matte side of the smaller, motif stencil and place on the pillow cover where you want it.
6) Using a second color paint, roll the paint over the stencil ensuring it is covered. If you are worried about going off of the stencil onto the main part of the pillow cover, put masking tape or painters tape around the edges for extra protection. Remove the stencil and let dry.
7) Once your pillow cover is dry, place pillow insert inside.
H is so happy with how this pillow turned out and we had fun working on it together. The colors look great with some of the other choices she has already made for her room too.
If you would like to see other ideas on ways to use the Tulip for Your Home products, be sure to visit them on Facebook, Twitter , Pinterest and their blog. They are always sharing new ideas for using the products. And, for even more inspiration, be sure to visit some of these projects to see how they were made.




Cute! I love the colors you used too. Hmmm. That gives me an idea. I’m liking your post on Bloglovin for safe keeping. Thanks for sharing.
Love the color combo Shannah!
Thanks Vidya! My daughter is in love with those colors 🙂
This is so cute! I even have some of that same fabric paint in my craft room- I just need some cute stencils! Pinning.
I’d love it if you’d take a second to click through my post too.
Love this.. it is something that I would love to try. Thanks for sharing. Pinning.