Hello! Jennifer from Satsuma Designs here and very excited for my first contribution to Just Us Four blog – thank you Shannah! At Satsuma Designs, I create Seattle-made products and content that help make caring for kids as easy as child’s play. At my blog, you’ll find crafts, organizing tips, recipes, holiday and everyday treats to delight you and your kiddos. Come by for a visit!
Does your kids’ playroom look like Noah’s Ark landed and stayed for a while? Mine too!
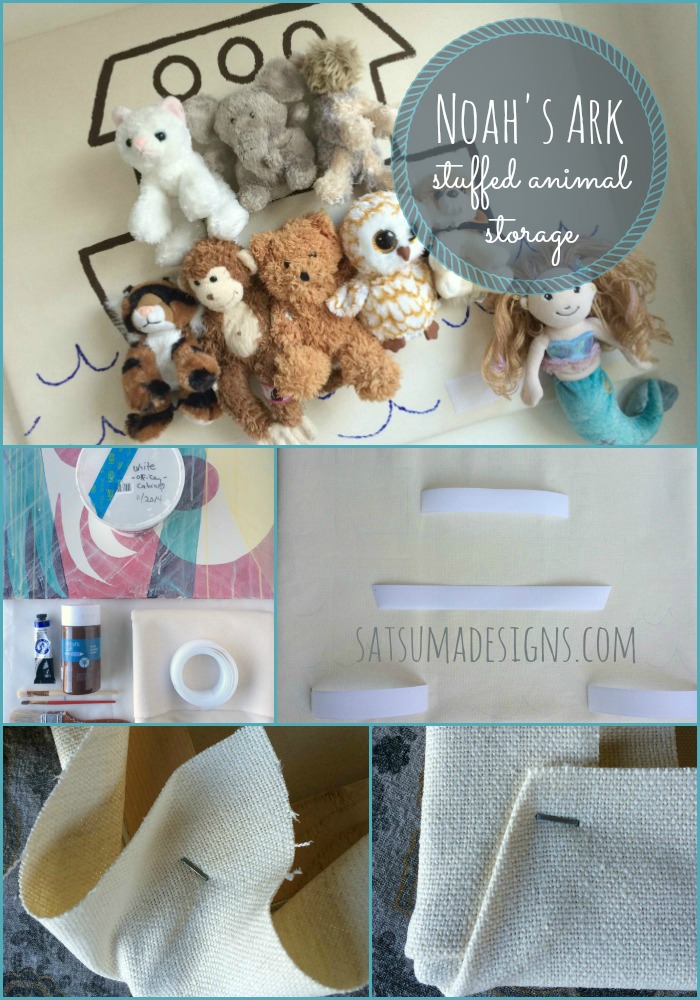
Here’s a way to get those animals organized two by two with my Noah’s Ark Stuffed Animal Storage. With just a few inexpensive materials, you can craft your own Ark in less than an hour. Get the kids to help you in your construction project and they’ll be invested in using it to keep their animals tidy in their new home.
I used a $5 piece of art that featured a nice solid wooden frame that I found at my thrift store, scrap canvas fabric, a bit of Velcro and 2 colors – brown and blue – of acrylic paint. This project took me less than an hour and delighted the kids with a new home for their Beanie Babies. My Noah’s Ark stuffed animal storage holds about a dozen small stuffies or Beanie Babies, but you could make a much larger one to hold the entire zoo. I would love to try this as a long horizontal stuffed animal storage solution, but would probably need to build my own frame. Another easy project, but not as cheap and quick as finding a frame at the thrift store.
PLEASE NOTE: this project is best used with small and furry stuffed animals. The animals need a bit of a fuzzy nap (the raised part of the fabric) in order to stay put on the Velcro.
Here’s what you’ll need to make your Noah’s Ark Stuffed Animal Storage:
- Used canvas on frame, ready to hang; My $5 canvas was 29″ wide x 23″ high
- White acrylic paint and brush to paint over existing art on canvas, if needed
- Natural color canvas to cover your frame with 4″ of fabric allowance to staple to the back; My cut canvas was 33″ wide x 27″ high
- Pencil to sketch your ark design
- 2″ wide white Velcro; You only need the rough side here to help the animals stick to the canvas.
- Brown and blue acrylic or fabric paint
- Paint brush
- Sewing machine and white thread
- Scissors
- Staple gun
How to make your own Noah’s Ark Stuffed Animal Storage
Start by taking measurements of your frame and painting the existing art white so that it’s won’t show through your natural colored fabric that you’ll be stapling to the frame.
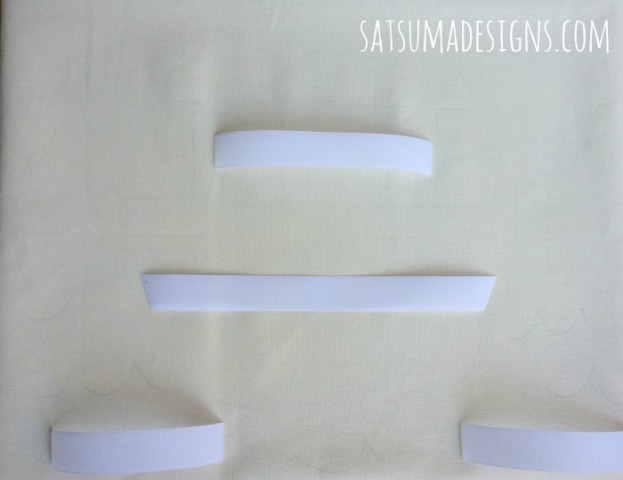
While that’s drying, cut your canvas to size and sketch your Ark and waves. Place your Velcro where you would like to hang your stuffed animals and pin to canvas.
Sew Velcro to canvas.
Now paint your ark and waves. Let dry.
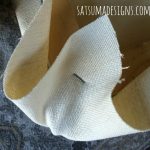
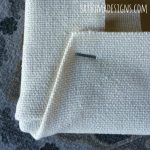
Staple your canvas to the frame using the corner technique shown here for a clean finish.
Add any hanging hardware that’s necessary. I found a frame that had hanging wire ready to go, which was a bonus!
You’re done! Enjoy this new home for your family’s furry friends. Now, when is that Dove expected to return?!
Thanks so much to Shannah and the Just Us Four blog team for hosting me today!
If you build your own Ark, please share a photo in comments below. Thanks!


Leave a Reply