Hello! Jennifer from Satsuma Designs here and very excited to be back at Just Us Four blog – thank you Shannah! At Satsuma Designs, I create Seattle-made baby products and content that help make caring for kids as easy as child’s play. At my blog, you’ll find crafts, organizing tips, recipes, holiday and everyday treats to delight you and your kiddos. Come by for a visit!
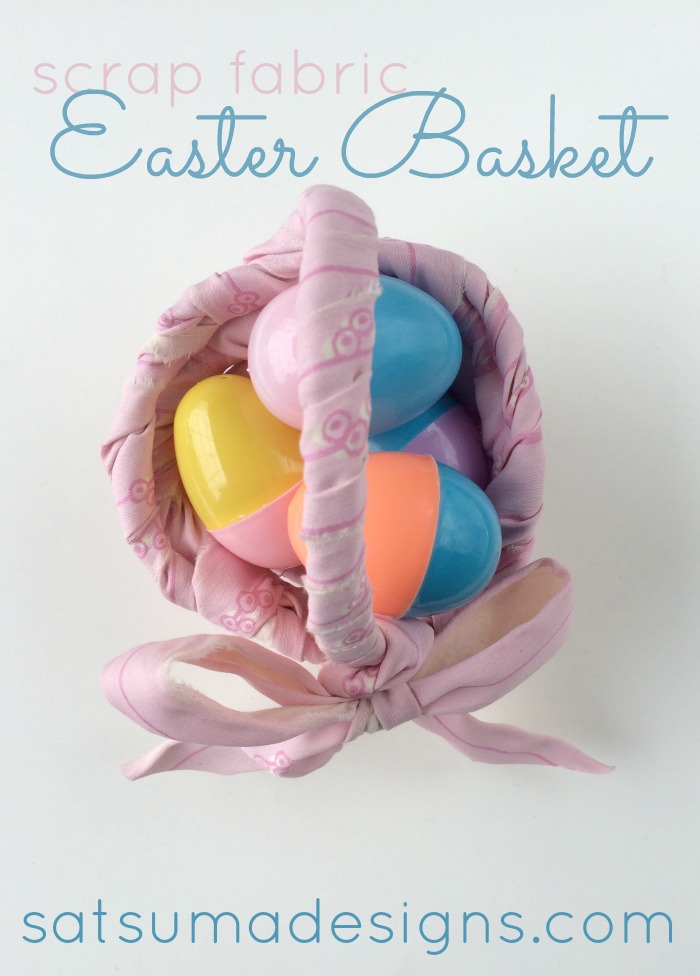
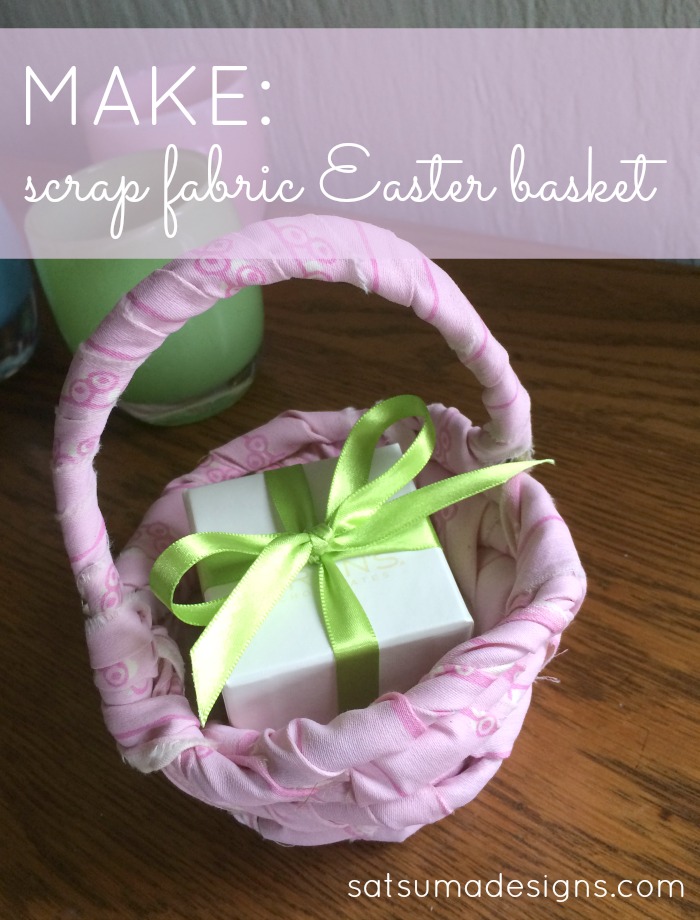
Spring is upon us and so are all the festive holidays of the season. With Easter right around the corner, I wanted to share my scrap fabric Easter basket tutorial that’s easy, fast and fun for kids to try. Using a few scrap materials, you can whip up this scrap fabric Easter basket in no time. If the kids are interested, it’s a great craft to teach dexterity, pattern and patience!
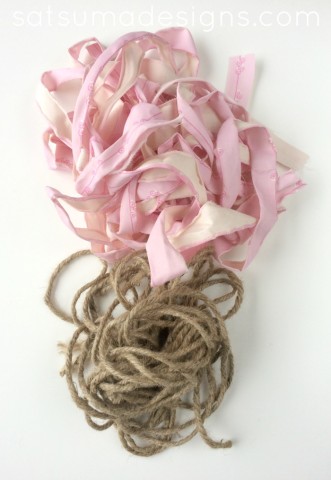
Here’s what you need to make your own scrap fabric Easter basket:
- Cotton material ripped into 1″ wide strips. Your strips can be as long or as short as you like. I used 4 yard long strips to make my little Easter basket shown here. You could double the strips to make a larger basket big enough for an Easter bunny, some candies and a book for Easter morning.
- 1-2 yards of jute rope or cotton cording. I had a bunch of this brown jute rope left over from a Valentine’s Day project that was the perfect gauge or diameter for this craft. A clothesline works great for this too.
- Scissors
Make a Scrap Fabric Easter Basket
The trick to making this Easter basket the easy way is to make sure you’re wrapping your rope toward the middle of your basket. You’ll see in the photos below how it works. As you wrap your fabric around your rope and then into the middle to secure the active rope to the base of your basket, you’ll want the fabric working in toward the middle.
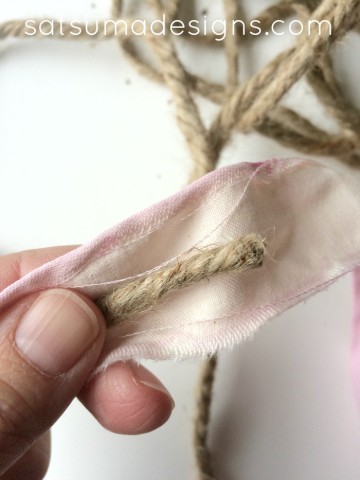
Step 1. Start by laying your rope in one end of your cotton strip about 2″ in from the end.
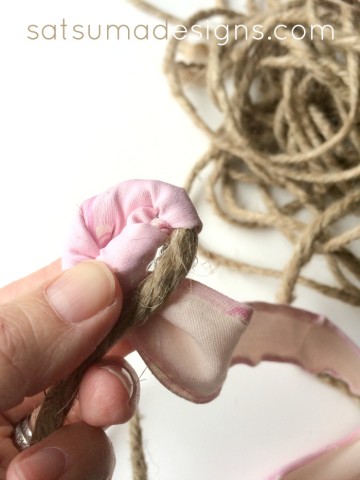
Step 2. Fold the end of the strip in and start wrapping your cotton strip around the end toward you. Do this for a few inches and then roll the end into a little coil that will be the base of your Easter basket.
Step 3. Use your free end of the cotton strip and bring the end over the top and through the center of the coil to secure the 1st and 2nd rows of rope. You’ll be using this wrapping technique every couple of inches through out the project so practice and be patient.
Step 4. Create the base of your basket to whatever size you’d like and start building the sides by continuing to wrap the rope, attaching wrapped rope to the preceding rope layer and pulling the rope tight to add height to your sides.
NOTE: When you need to add cotton strips or rope to your ends, simply fold together and keep wrapping cotton. To add rope, simply lay in about 1″ before the end of the expiring rope and wrap.
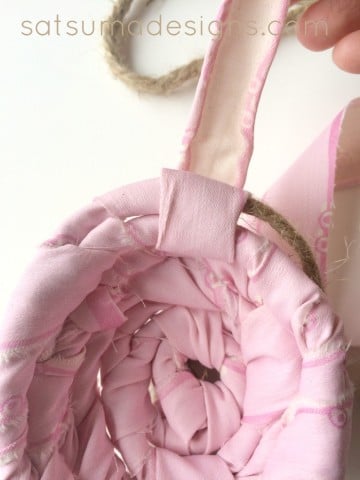
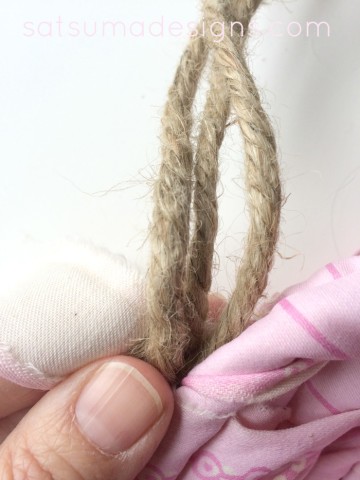
Step 5. When you’re happy with the height of your Easter basket, make a handle by cutting 2 more lengths of rope and place next to your working rope. Wrap these three piece of rope with your cotton strip to the length you’d like. Use the end of the cotton to tie the end to the other side of the basket and secure with a knot.
Optional: Tie a bow(s) around your Easter basket
C’est tout! That all! Enjoy and happy Easter!!



Leave a Reply